“In 1839, an English publisher issued a small book on woodworking…”
In 2009, an American publisher re-issued a small book on woodworking that had recently been discovered by Joel Moskowitz.
The identity of the original writer is unknown, anonymous if you will, and a kindred spirit to this blog I’d like to think, although it’s a much more valuable resource on the topic of woodworking.
The book is called The Joiner & Cabinet Maker, and its three projects have been an underlying part of this blog, literally since just shy of its inception. It tells the story of a young boy named Thomas as he enters into apprenticeship in a rural English shop. When you read of my thoughts that question if I’m anything more than a mid-level apprentice, chances are I’ve been reviewing some part of the book, and let’s face it, The Champ needs a good dose of reality from time to time to keep his ego in check.
Anyways, over the past 5 years, I’d decided to make these three projects to see what I could learn from them.
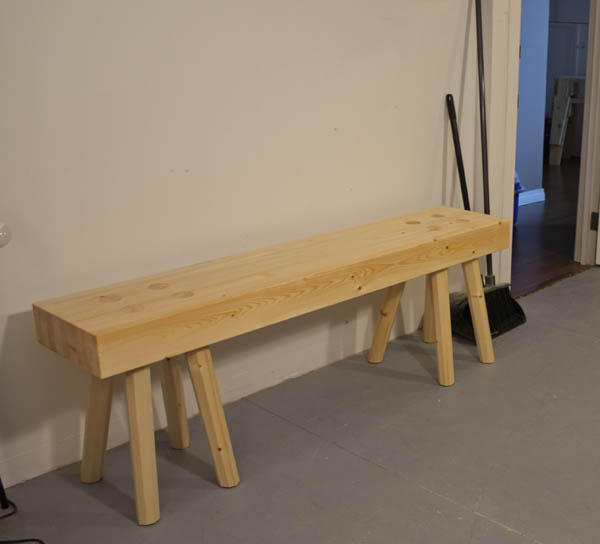
The first project was the Packing Crate.

I should mention a dilemma that anyone that has done these projects has to face. Sourcing out the building material known in the book as “deal”. There have been many discussions as to what type of wood this is, and I’m sure in the end, it was correctly identified, but the long and the short of it was that neither your local lumber yard nor your local Home Depot is going to have what Young Thomas would have known as Deal. And so in the interest of historical accuracy, I did what any self respecting woodworker should do. I went shopping for some really nice dimensional lumber. Call me a bottom feeder if you want, but like many of us, my very first woodworking projects were made with the off-cuts from local constructions sites, but over the years, I’ve learned much on harvesting some very usable wood out of some of the worst of trees.
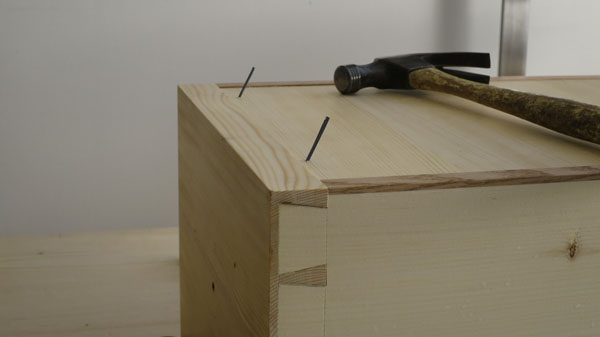
The second project is the School Box.
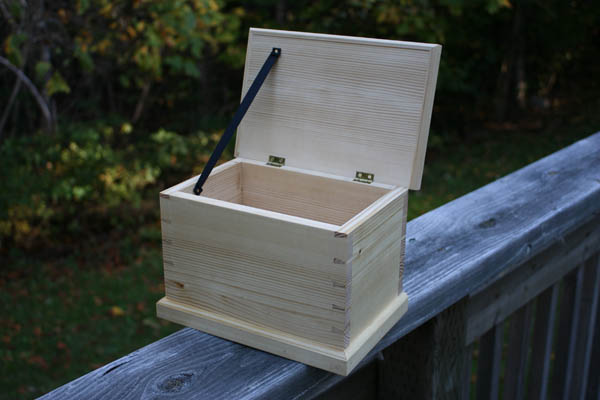
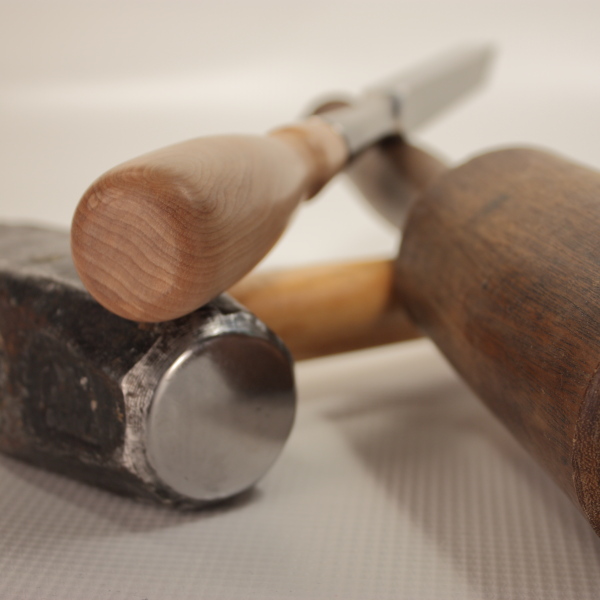
Neither of these projects were difficult at the time I built them. I’d been cutting dovetails for a while at this point, and who doesn’t know how to drive a nail into softwood? What I did discover in both cases is that using nails correctly is much more than just trying not to miss the nail with the hammer. These days, nails are associated with cheap work. Back then nails were expensive and not to be wasted. If you have never tried these two projects, you probably don’t know how badly you need to learn what they teach.
The third project took a while to get to as a Chest of Drawers is somewhat large in size, and at the time we really had no need for more drawers. Then came some work instability, and the discovery that we could very well be facing a move to the other side of the country. The result was a 3 year hiatus from the book to uproot, move, and then set up shop again.
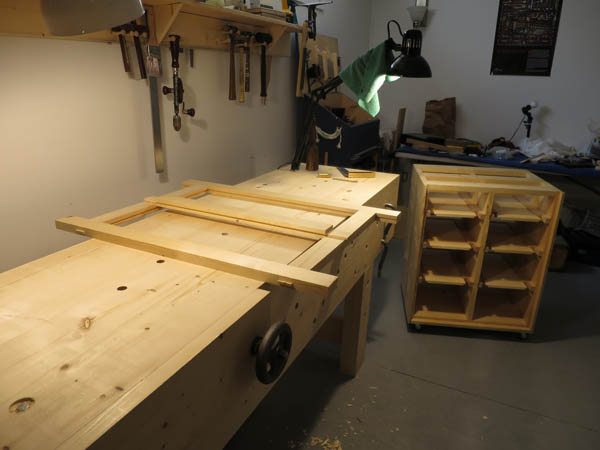
Part of a big move is liquidating anything large that you don’t absolutely need to keep, but somehow once we got here, we still didn’t really need another set of drawers. Then I bought one of my larger tools, and for the sake of my back, I needed a mobile place to store it.

Something that could hold my 90 lb thickness planer that could also store some lesser used tools?
Like a set of drawers?
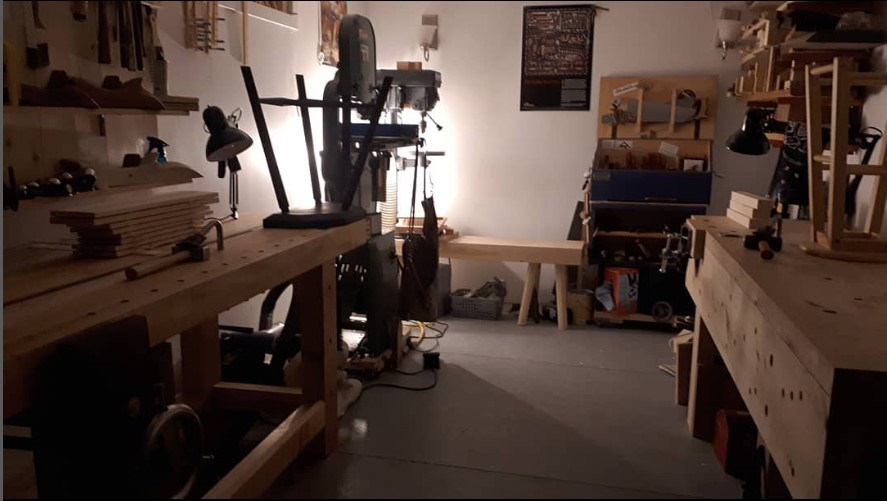
This was the first piece that turned me on to the idea that everything in a small shop should be on casters.
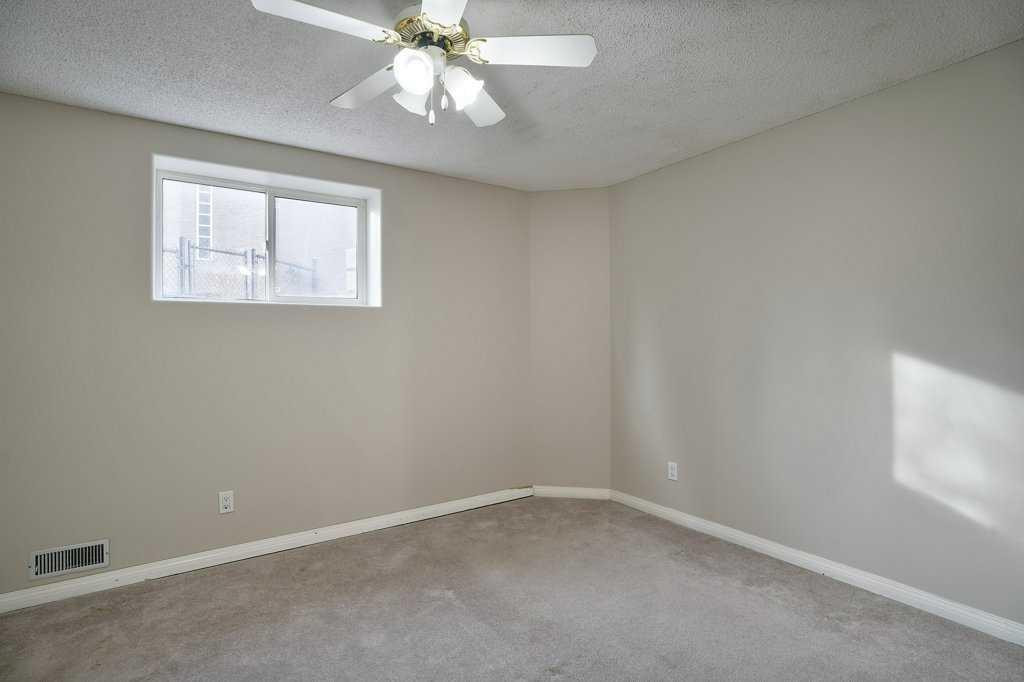
And so this…
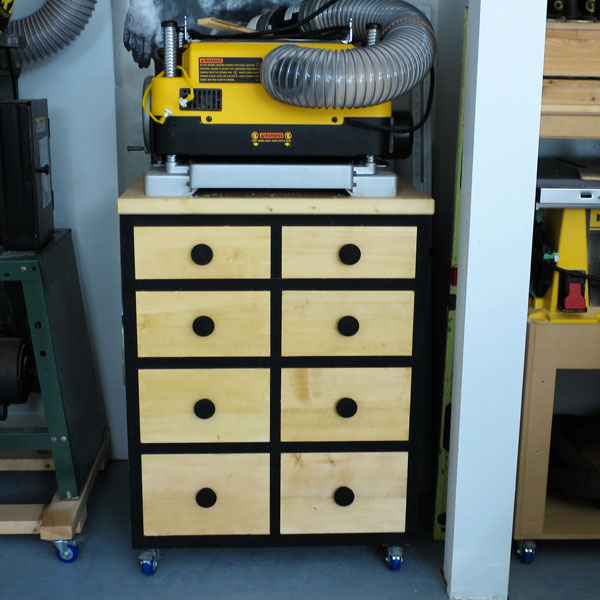
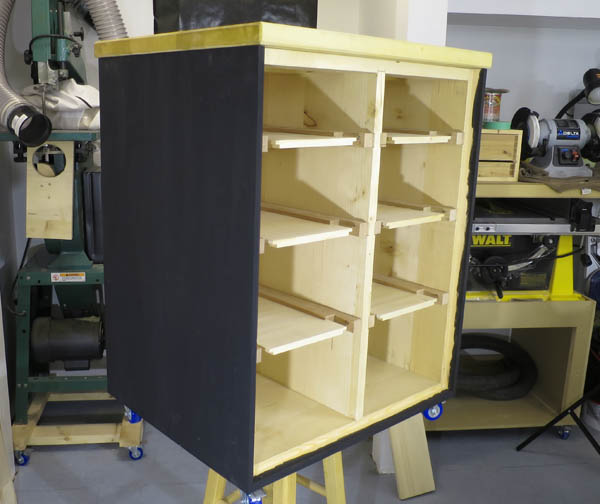
Became this.
And this.
Actually, I’m getting ahead of myself. Remember how I said that I was using dimensional lumber to build these projects?
You start by repeated visits to the lumber store. You hunt through the 2×12 piles, then the 2×10 piles. Then you go back to the 2×12, and an hour later, hopefully, you are standing in line with a board or two of promising material.
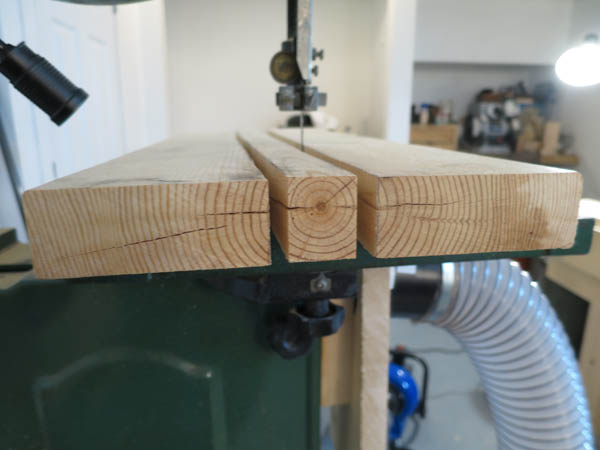
When you get home, you start with removing the pith.
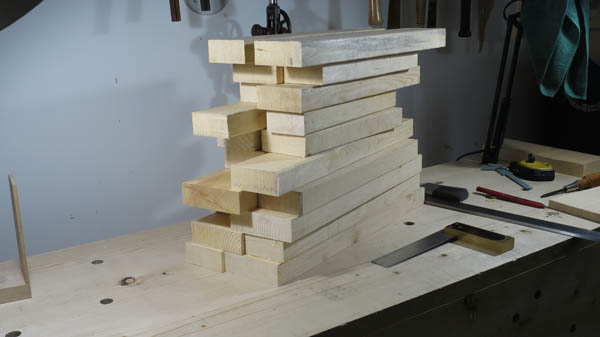
Then you cut the boards to length. What length is that? Well… From one unusable knot to the next. The local lumber is very knotty spruce and hardly ideal for the application, but hey! Who doesn’t love such a great way to suffer? Essentially, at this point I’m not cutting to a cut list, I’m getting maximum yield, letting it dry, and seeing what I have to work with. As you can see above, the usable boards are not very wide (4 to 6 inches). When the cabinet depth is over 20″, almost everything in this project had to be made by laminating multiples to width. The longer boards were used right away for the carcass, the shorter were saved for drawers, drawer bottoms, dust covers and such.
Now would be a good time to head back to the lumber store. (again, and again, and again)
There were piles of it.
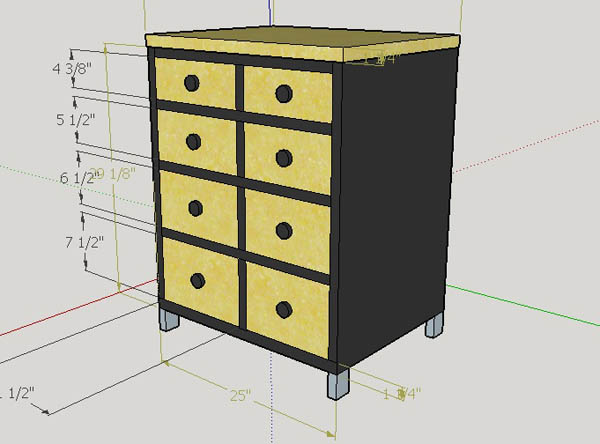
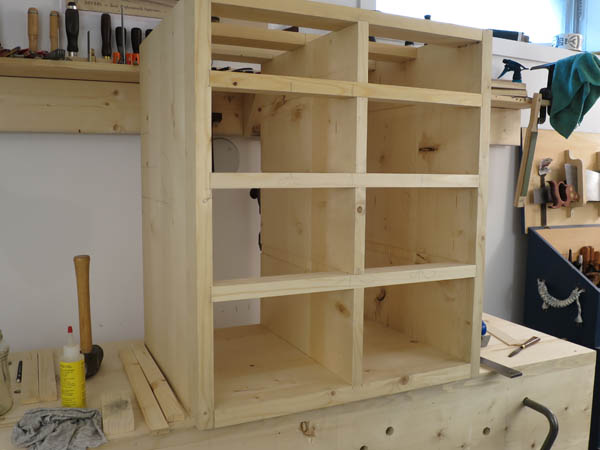
The truth is, this is not at all how the drawers were in the book. This is not a dresser, it’s shop furniture. In the book the three lowest drawers are the full width, only the top is split into two. Because of the weight I expected this to hold and the weakness of the building material, I chose to split all the drawers with a full center stile.
I should say right now, I’m not much of a furniture guy. By that I mean, I have never really paid much attention to either furniture style or how it was made. Although I was absolutely competent in any of the tasks necessary for this project, I quickly discovered that I didn’t always know what task I should be doing.
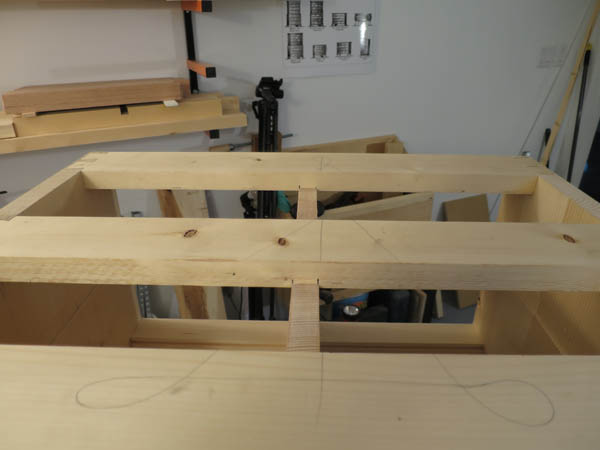
The design change of adding a center stile made me rethink the entire makeup of how to lay out the pieces that would finally complete as functional drawer runners. Do you look at it as two separate sets of drawers and run six shorter divisions that just run into the center stile? Or do you stick with three and notch out the center stile. Or do you notch both out so as much of the weight of the drawers as possible is transferred to the center? I went with option number 3.
I saved the very best of the longest pieces to build the back.
I’d never heard of a frame and panel for a back, but it gave an opportunity to pretty up the one side that would only rarely be seen.
I even got some sweet pyramid head screws to secure it.
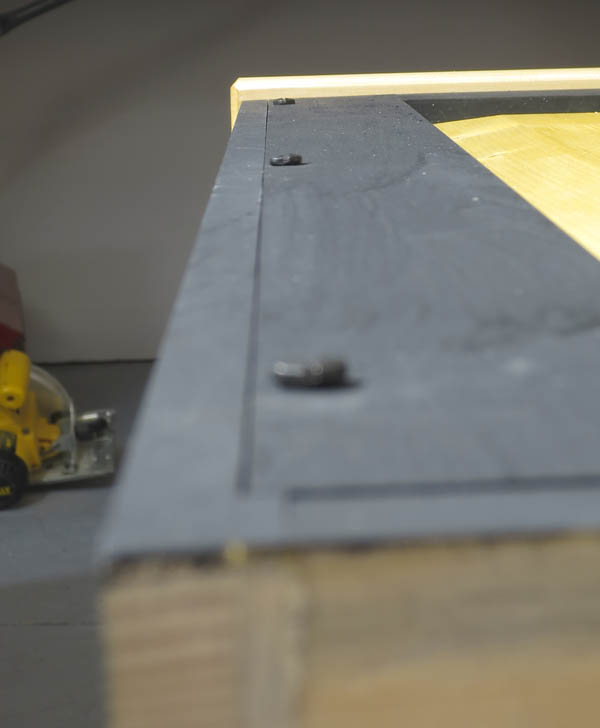
Unfortunately, much of my efforts to give it some pop…
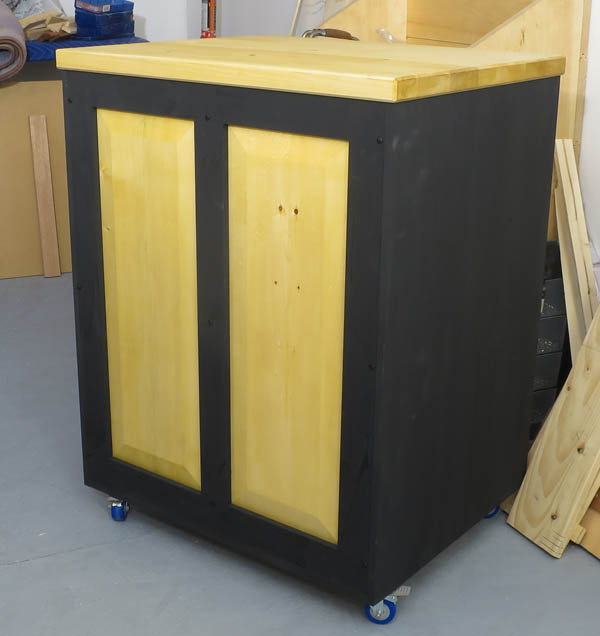
Just made it look like a big old bum in a black thong, and a little bit of a muffin top to keep it classy. I went through great effort to first off, color match the two panels, and then avoid getting paint on them, just to paint them black in the end.
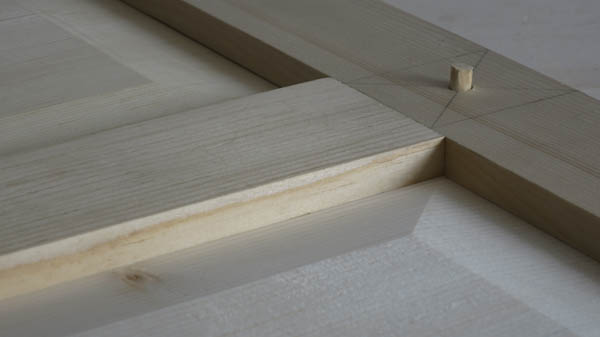
I had some fun chamfering the top.
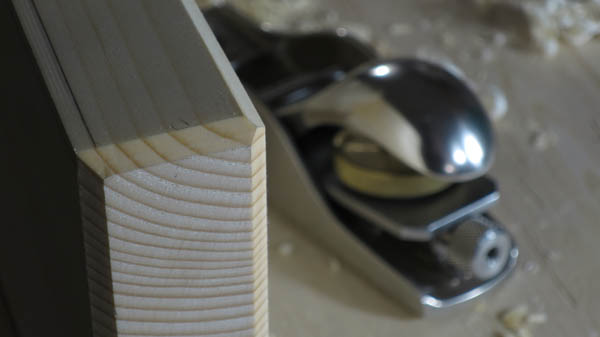
I’d never done any piece that large before. That was a challenge.
By this point my piles of smaller pieces for drawers were getting out of control.
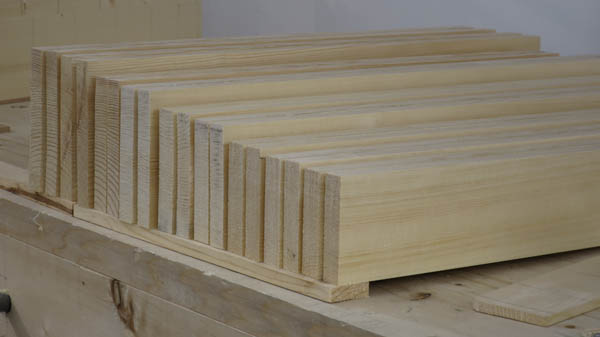
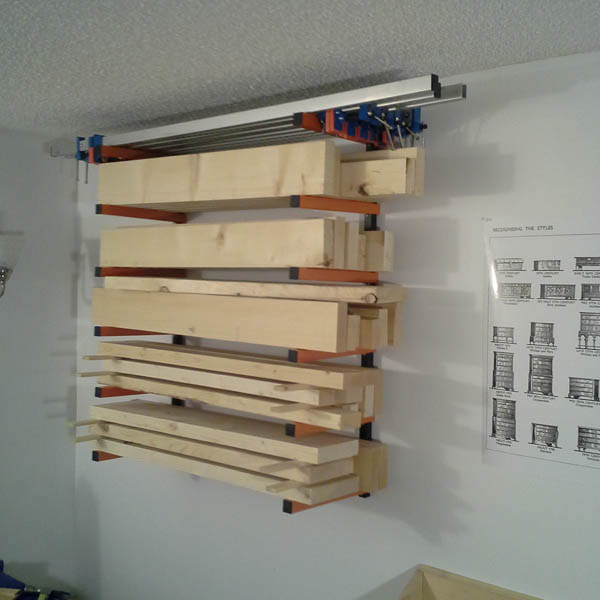
Each board was then resawn, and acclimatized, re-flattened, and pre dimensioned.
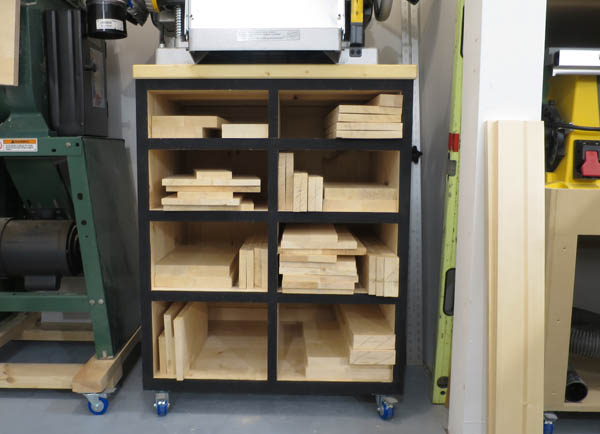
Thankfully, I now had extra storage for pieces as they were earmarked for specific parts.
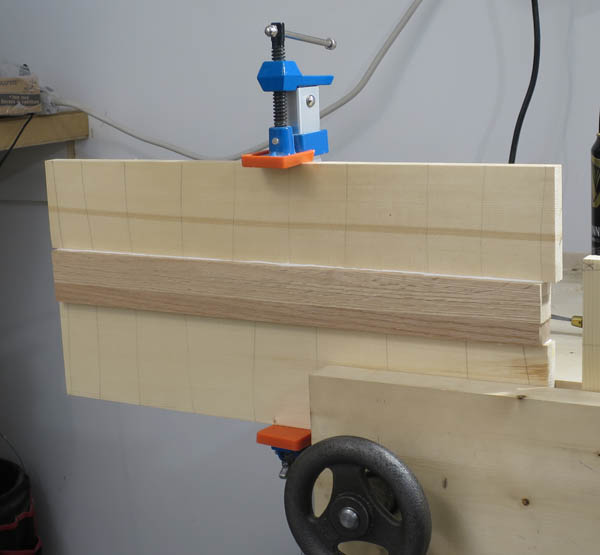
The durability for the drawers was another challenge. Spruce is soft, and both the runners and the drawers themselves could end up failing quickly if there was much weight in them. Switching to oak for the runners was easy enough.
Laminating a strip of oak to the bottoms of the drawer sides was another minor design change.
And then Dovetails,
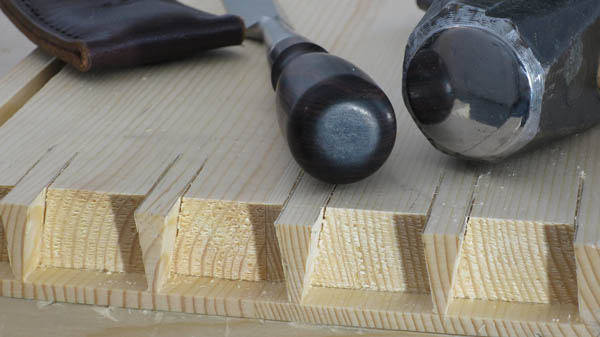
Dovetails,
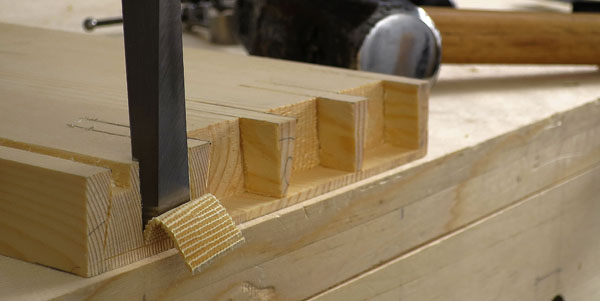
Dovetails.

As I said before, I’m not a furniture guy. This project really opened my eyes to what all these skills I’d been accumulating were actually for.
And that my friends is how you build a chest of drawers in just under 2 years.